Our Blog
Win a Quirk Books Back-to-School Prize Pack!
Happy September!
We sure do have a lot going on here on the ol' Quirk Books blog today. Awesome deals on the Jane Austen Handbook and Yum-Yum Bento Box, a crazy one day deal on Blair Thornburgh's Stuff Every College Student Should Know, and one top secret thing that I totally can't talk about just yet. It starts with "fancy website" and ends with "update."
But we won't stop there. Can't stop, won't stop, as the saying goes.
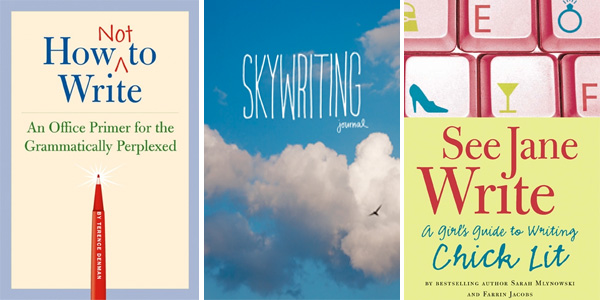
To welcome in September and the start of school, we're giving away a fancy Quirk Books Back-to-School Prize Pack (Q.B.B.T.S.P.), filled with titles for the aspiring writer and English major. Included in the bundle are See Jane Write, How Not to Write, Stuff Every College Student Should Know, and two notebooks (Walls and Skywriting) to scribble out all your ideas.
And be sure to sign up for the Quirk E. Newsletter to get the inside scoop on giveaways just like this one! We run a lot of SECRET raffles, just for newsletter subscribers.
You can enter the giveaway via the Rafflecopter below. We're giving away FIVE prize packs! Good luck!
Posted by Eric Smith
Stuff Every College Student Should Know Only $1.99, Featured as an Amazon Gold Box Deal
Every now and again, someone who works here at Quirk Books will roll up their sleeves and write a book themselves. Rick Chillot's debut, How to Make Your Baby an Internet Celebrity, is coming out soon, and he's an editor here at Quirk. Our president, Brett Cohen, wrote Stuff Every Man Should Know (also this book and this book).
When she isn't busy editing books and coming up with outrageous blog posts, Blair Thornburgh also likes to write them. Her first book with Quirk, Stuff Every College Student Should Know, came out in March. And today, you can pick it up for only $1.99 on Amazon's epic Gold Box sale.
Grab it for $1.99 here, today only!
Posted by Eric Smith
Quirk Perks: Get The Jane Austen Handbook for Only $3.99 This Month!
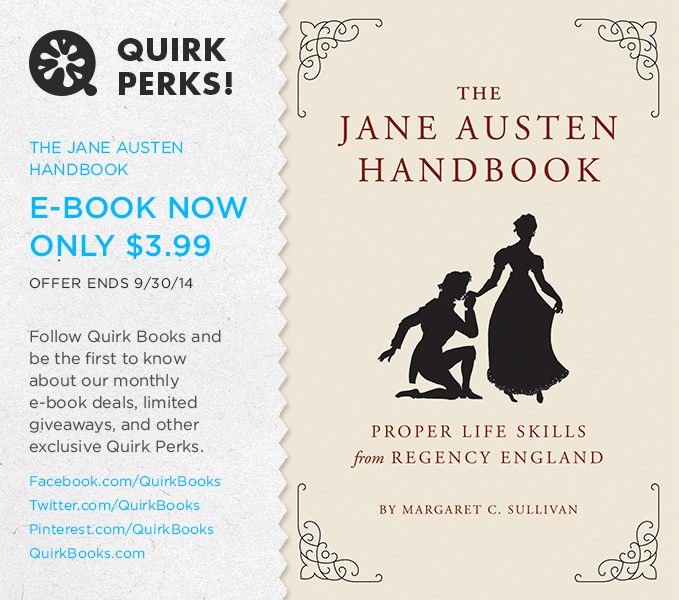
THE JANE AUSTEN HANDBOOK by Margaret C. Sullivan
KINDLE / NOOK / KOBO / IBOOKSTORE
Posted by Eric Smith
Quirk Perks: Get Yum-Yum Bento Box for Only $3.99 All Month!
YUM-YUM BENTO BOX by Crystal Watanabe
KINDLE / NOOK / KOBO / IBOOKSTORE
Posted by Eric Smith
Bookish Events in Philadelphia This Week: August 30th – September 5th
Lots of fun things going on in town the next few days! Movie screenings, book releases, museum exhibits and more! Check out the roundup, below!
This Saturday, August 30th, the Free Library of Philadelphia is screening HAMLET as part of their Shakespeare Film Series. It's the 1993 one, with Mel Gibson. Screening starts at 11AM at the Northeast Regional Library.
Sunday, August 31st, is your last chance to catch the amazing Joyce Haunted by Shakespeare exhibit at the Rosenbach Museum. The exhibit explores Joyce's Ulysses and how it was influenced by Shakespeare's plays.
On Wednesday, September 3rd, the Philadelphia Shakespeare Theater is premiering iHamlet. It's part of this year's Philadelphia Fringe Festival, and is a "unique one-person [performance of] Hamlet."
Also on Wednesday, September 3rd, the crew at Locust Moon Comics in West Philadelphia are celebrating the release of Quarter Moon's fourth anthology, Waters. There's a rumor there will be a kiddie pool in the backyard of the comic book shop. I believe it.
Okay, one more Wednesday event. On Wednesday, September 3rd, you can catch a book-to-movie screening of Life of Pi at Big Blue Marble books. Afterwards, hangout, and talk about it.
Come Thursday, September 4th, our good friends over at Head & the Hand Press are celebrating the release of their latest book, Blowin' It. The party will be at Bourbon and Branch, and will feature some seriously tasty brews. Also, a reading! And books for sale! This blogger will see you there.
Posted by Eric Smith
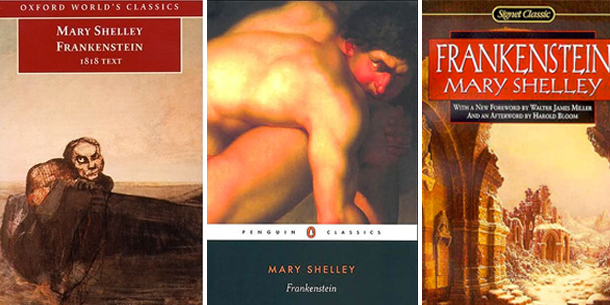
Frankenstein Day: A Simple Guide to Celebrate Mary Shelley’s Masterpiece
Posted by Jennifer Morell


